How to Bypass This Device Was Reset to Continue
If you are looking for 'This device was reset. To continue, sign in with a Google account' bypass, don't take your eyes off this page. We will go extra lengths to explain everything you need to know about this error. Also, we will show you how you can resolve this Google account verification problem yourself.
Are you ready? Let's dive into solving the problem.
- Part 1. Why 'This Device Was Reset To Continue Sign In With a Google Account' Appears
- Part 2. How to Fix 'This Device Was Reset. To Continue Sign In With a Google Account' Samsung
- Part 3. Learn more about 'This Device Was Reset' Problem
Part 1. Why 'This Device Was Reset To Continue Sign In With a Google Account' Appears
To avoid experiencing this error again, you should know why it appears on your screen in the first place. Typically, when someone owns an Android smartphone, they log in to their Google account on the device. Also, the device will have one or more screen lock security measures.
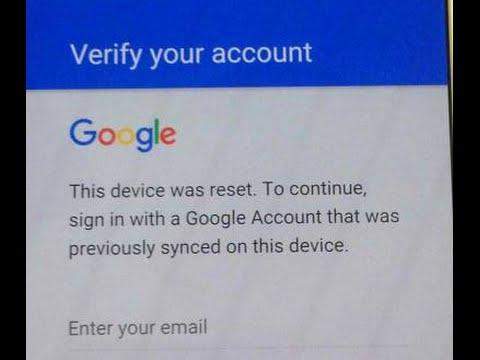
However, if the mobile device is reset or formatted and switched on again, the smartphone will request for Google account that was synced on the device before it was reset. This is when you will get the 'This device was reset. To continue, sign in with a Google account' screen.
Part 2. How to Fix 'This Device Was Reset. To Continue Sign In With a Google Account' Samsung
The 'This device was reset. To continue sign in with a Google account' screen is designed to ensure unauthorized individuals cannot reset and start using your phone. However, it can become a nuisance after buying a second-hand phone or forgetting your Google account detail.
In the following part of our article, we are going to tell you the best 2 ways through which you can fix the "this device was reset" issue instantly. So keep reading till the end!
Method 1. The Fastest Way to Get past 'This Device Was Reset' Screen
If you want to get past the 'This device was reset' screen on Samsung, you may need to rely on some third-party software. The tool that we recommend for this is 4uKey for Android. Within a few minutes, this program will bypass the error and help you gain full access to your Samsung phone.


- After the download is completed, then install this program and connect your Samsung phone to your computer using a USB connection.
-
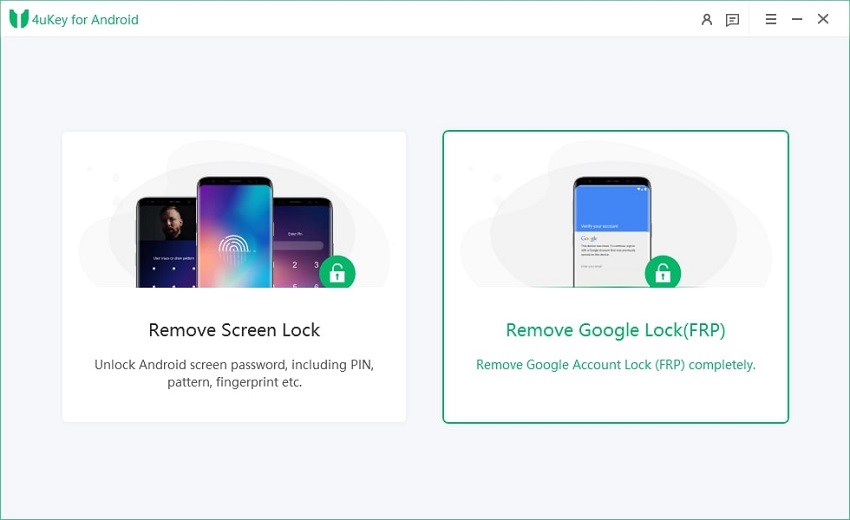
Now you should choose "Remove Google Lock (FRP)" from the main interface of this software.

-
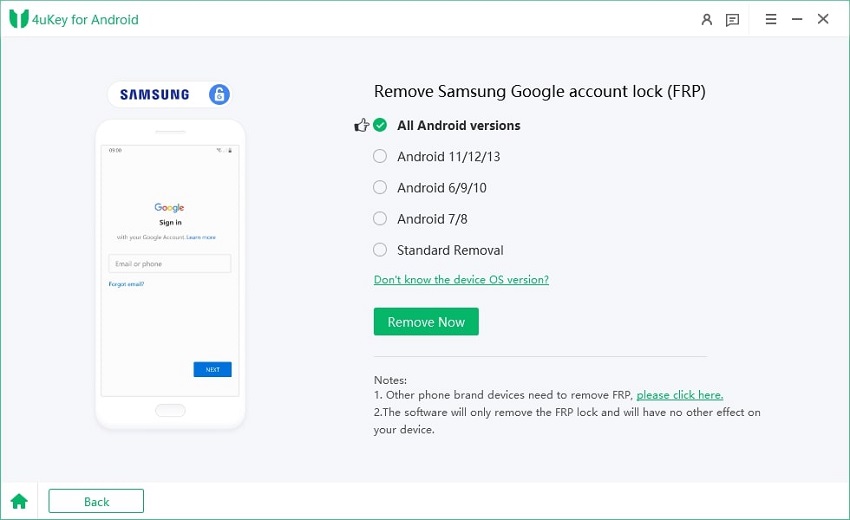
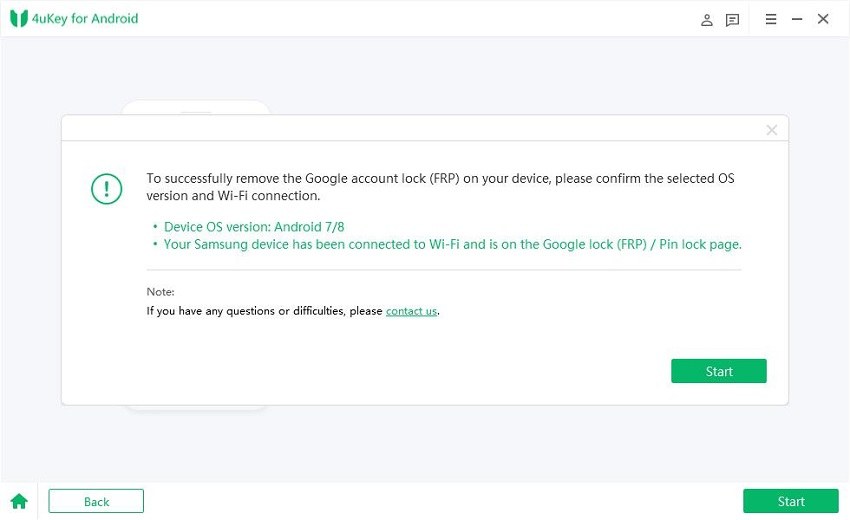
To continue further with the process, you need to choose the OS version of your Samsung device. Well, carefully select the OS version and then click on "Send Notification" to proceed further.

-
On the next screen, you will also see a note about some information you must understand. Check and click on "Send Notification" again.

-
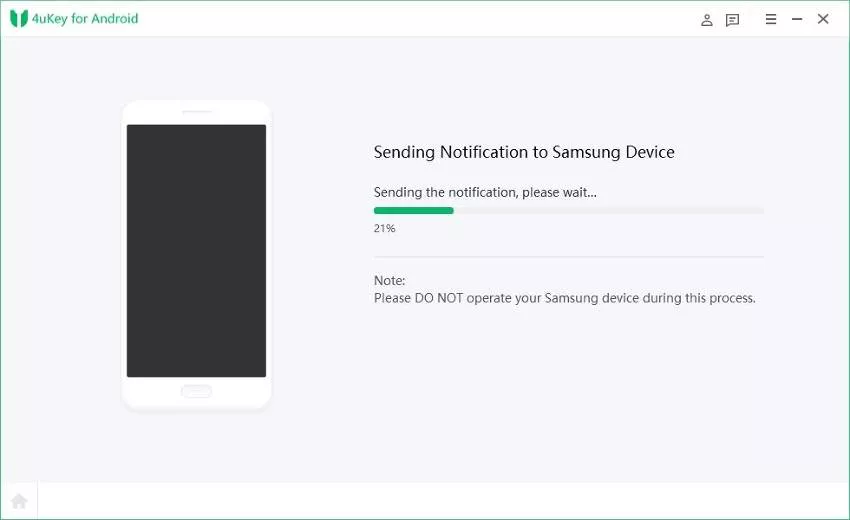
Now, 4uKey for Android will automatically send a notification to your Samsung smartphone for unlocking its FRP. So please make sure that your phone remains on throughout the procedure.

-
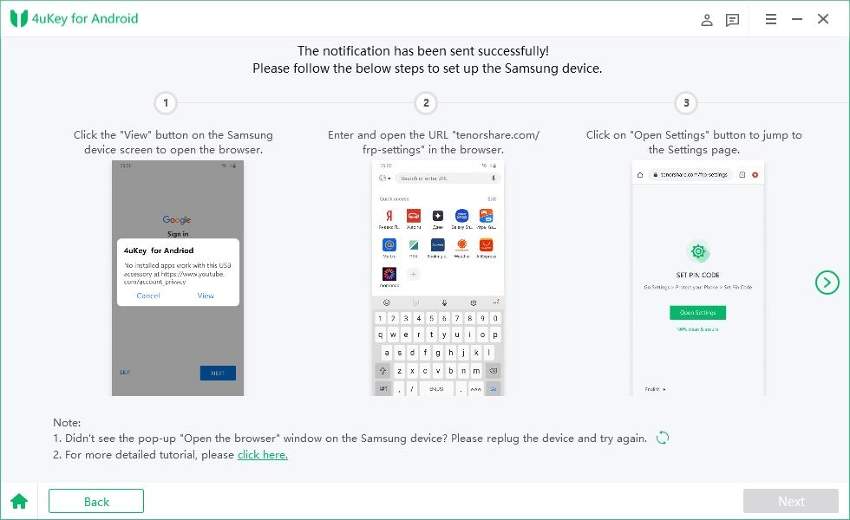
Once you've received the notification, all you need to do is to click on the "View" option on your Samsung device. Continue to follow the on-screen instructions, which may vary depending on the device OS version you've chosen.

- Finally, you are only one step away from fixing the "this device was reset to continue sign in with a google account" error. Now all you need to do is to restart your Samsung smartphone. After restarting, simply enter the pin code you have created and gain access to your Samsung phone.
-
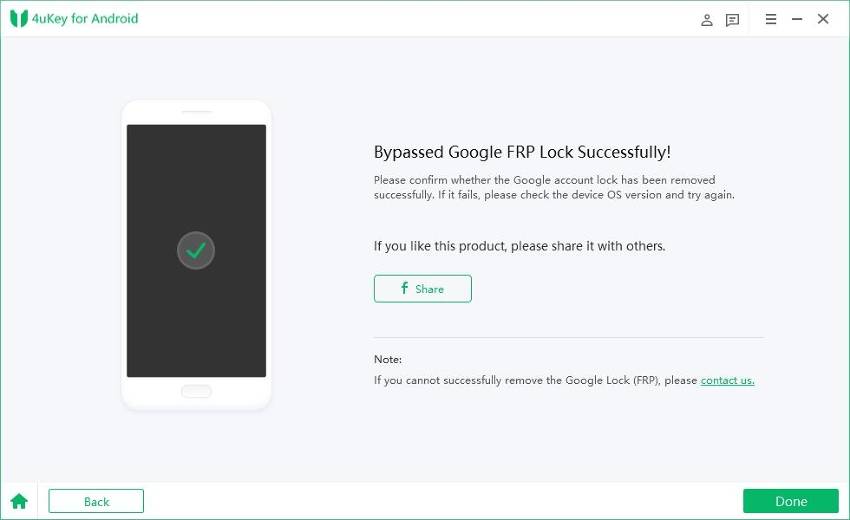
This device was reset to continue sign in with a google account bypass is done successfully!


Congrats! You can now login to a new Google account on the device and start enjoying it like before. But this way will erase the data on your device, so you could restore them from your Google backup.
Method 2. Contact Samsung Support to Bypass Google Account Verification
Instead of using any third-party program, you can get in touch with Samsung customer care service to get rid of 'this device was reset'. You can talk to the available agents via phone call, email, or chat. Besides, Samsung support is accessible via the Samsung Members App on Samsung mobile devices.
However, this method may not work for people that just bought a second-hand Samsung device and cannot provide some details about the device itself. In such a case, you may have to revert to the use of Tenorshare 4uKey for Android that has been described above.
Part 3. Learn more about 'This Device Was Reset' Problem
1. How to Delete Previously Synced Google Accounts on Android?
You can quickly delete your previously synced google account through your android mobile settings. Go to Settings > Accounts. Tap on your Google account and choose Remove.
2. Does Factory Reset Remove Google Account?
No, as we have said, Google account lock is enabled after factory reset. So factory reset does not remove Google Account.
3. How Can I Remove Screen Lock on Android?
It is pretty easy with Tenorshare 4uKey for Android. All you need to do is to start the software, select the "Remove Screen Lock" function, and follow the guide to finish removing screen lock. Yes, 4uKey for Android is also a great Android screen lock removal tool, which supports most android phones in the market, like Samsung, Huawei, Google, etc.


Conclusion
When the problem like "this device was reset to continue sign in with a google account bypass" happens, we understand how difficult and frustrating it is. So we've written this article especially for you. Finally, you know that how you can quickly fix this issue by using Tenorshare 4uKey for Android. Stay tuned to read more valuable articles.
Remove Android Screen Lock & Bypass Samsung FRP Lock
- Bypass Google account verification on Samsung devices (Android 6-11)
- Remove Android password, pattern, PIN, and fingerprint lock just one click away
- Support removing screen lock and FRP on both Win & Mac
Free Trial Free Trial
Source: https://www.tenorshare.com/samsung/this-device-was-reset-to-continue-sign-in-with-a-google-account-bypass.html
Post a Comment for "How to Bypass This Device Was Reset to Continue"